Getting started with Microsoft Word
If you’re new to Word, you might also be new to using Windows. This article guide is for those brand new to Word. If you're already a little familiar with Word try the intermediate version of this article.
Microsoft Word (often just called 'Word') is a program for writing and editing documents. It’s the most common application ('app' for short) for word processing around the world. Word is part of the Microsoft Office package which also includes other programs like Outlook for email and Excel for spreadsheets.
In this article we'll go step by step through the basics, including:
- How to open Microsoft Word
- How to create a new Word document
- How to open a Word file
- The main interface
- Closing a document in Word
- How to close Word
- What version of Word do I have?
How to open Microsoft Word
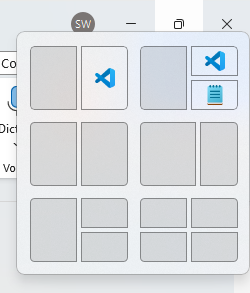
To work on a document you need to open up the Microsoft Word application. The icon is blue with a 'W', it'll look different for other versions. The latest version updated in 2025 is the icon on the right. The icon you see will likely be one of these:

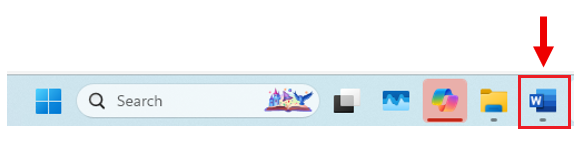
The Word icon is usually found on your taskbar (the banner at the bottom of your screen) like below. Left click on it with your mouse to start up Word.
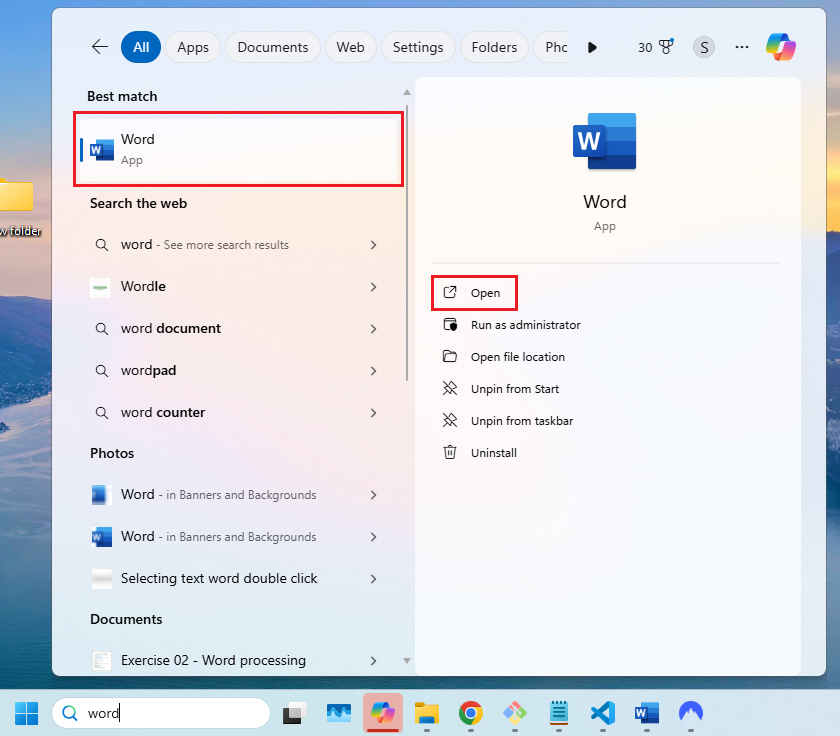
If you don't see it you can left click in the search bar and type in 'word':

Word will then appear in search results above. You can click on either of these two highlighted buttons below to open Word:
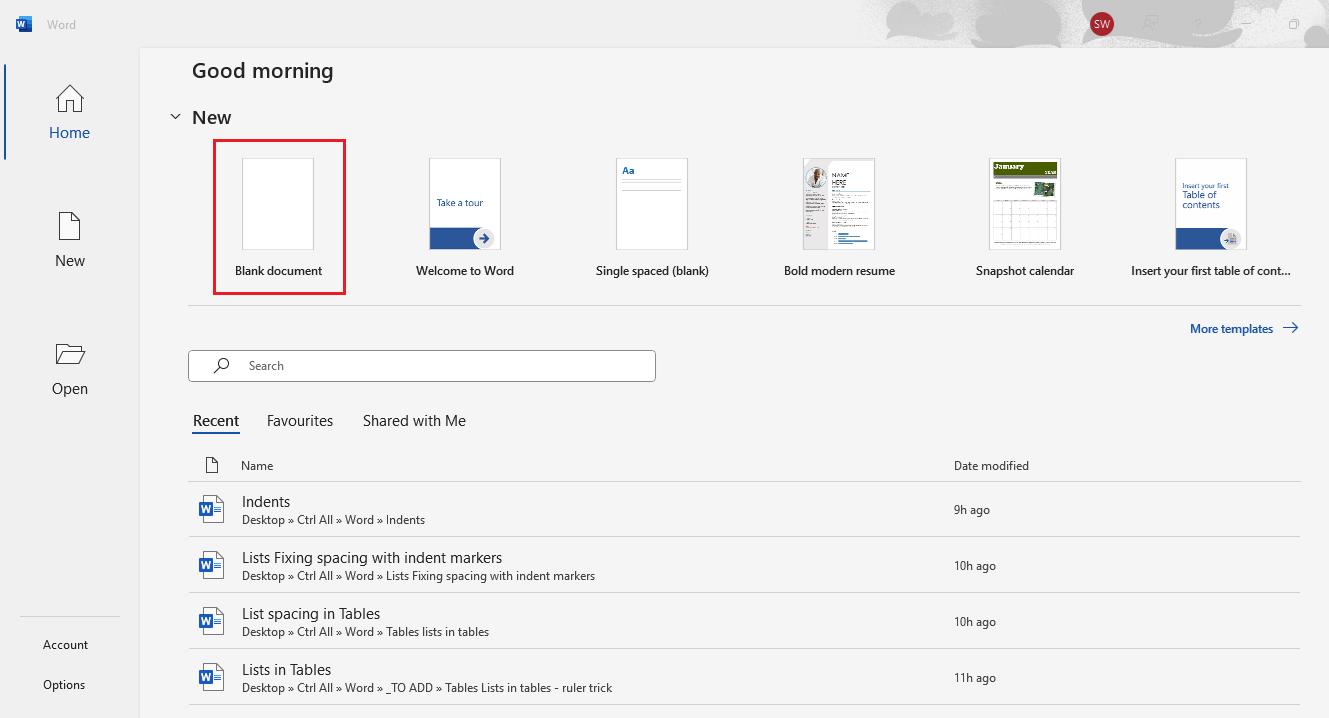
How to create a new Word document
When you start Word you'll see a emnu screen. To start a brand new document click the highlighted option Blank document. There are also many different templates you can choose from here as well.
How to open a Word file
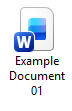
Word files have their own blue icon with a 'W'. To open one, find the file on your computer and double click it.
If you find double clicking tricky you can click the file once to highlight it, then press the Enter key on your keyboard instead.
The file will open in Word automatically.
The main interface
This is the main Word interface you work from. It's made of different sections which we'll go through top to bottom.
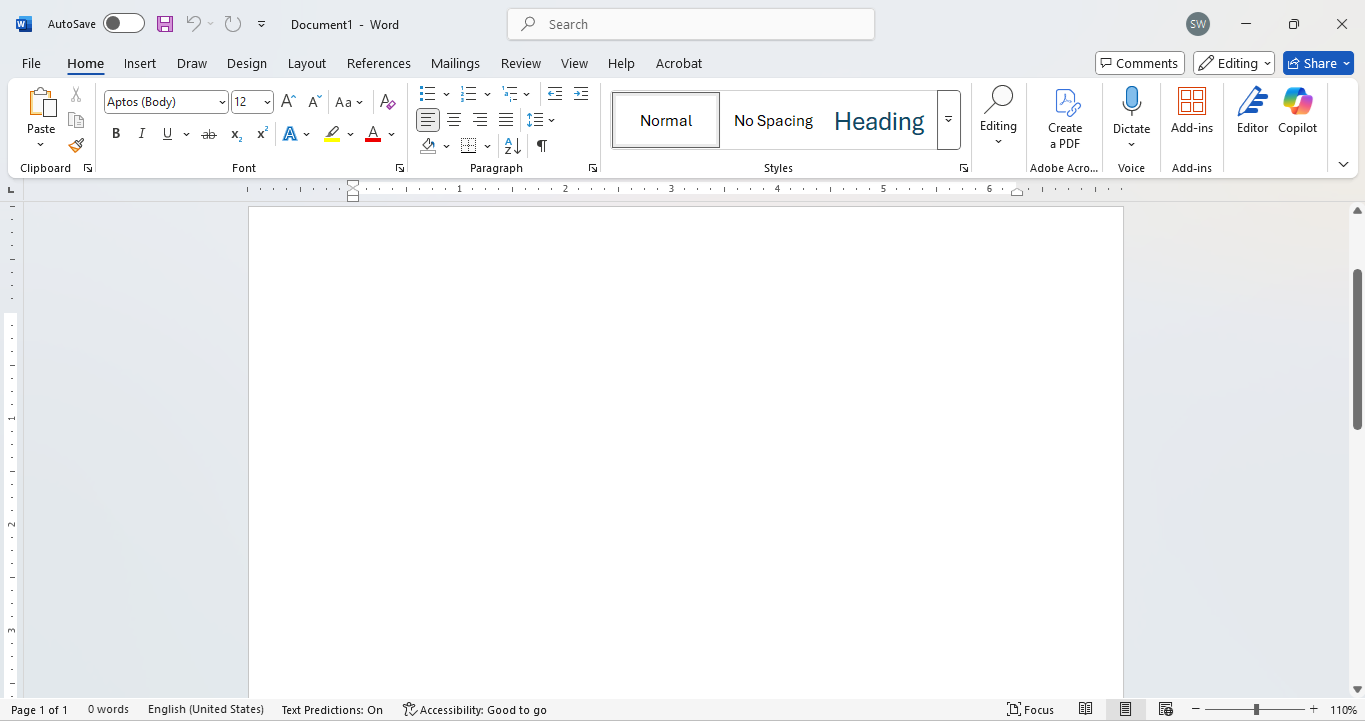
Quick Access Toolbar
At the very top of the app you'll see options that are always available; on the left are options to save, undo, redo; in the centre is a search bar to search for tools and options; on the right are options to minimise screen, maximise screen and close the application.
If you're using Microsoft Office 365 then you'll see a toggle for Autosave to the far left as well.

The Ribbon
Below you'll find tabs with tools and options to edit the document with. Home is the most common tab you will use featuring tools for content control (Clipboard), Font and Paragraph formatting and Styles. In time you may also find yourself using the other tabs such as Insert for adding tables or images, Layout for altering the page or Review for spell checking.

Workspace
This is the main area where you edit your document. The white area represents the page itself where you can add, edit or delete content. The grey area around it is just background. The blinking line on the page is called the insertion point; it shows where your typing will appear.
Status bar
The bar at the bottom of the window shows details about the document like the page number, total pages, word count, language settings and zoom tools.

Closing a document in Word
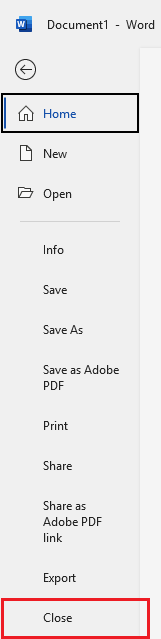
You can close the current document but still keep the Word application open by clicking File > Close: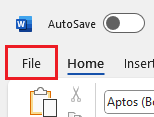
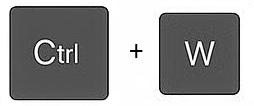
A quicker way is to use the keyboard shortcut holding down Ctrl and then pressing W:
How to close Word
You can close the Word application by pressing the ✖ button in the top right corner. If you have made any unsaved edits Word will prompt you to save before closing.
What version of Word do I have?
There are a few versions of Microsoft Word:
| Word version | Description |
|---|---|
| Word for Microsoft Office 365 | A subscription-based version with continuous updates and cloud integration. |
| Word 2021 | One-time purchase version included in Office 2021 suite, doesn't include continuous updates. |
| Word 2019 | Predecessor to Word 2021, also a one-time purchase. |
| Word 2016 / 2013 / 2010 | Older standalone versions with fewer features and no cloud sync. |
| Word Online | Free web-based version with basic features, accessible via your web browser. |
| Word for Mac | Mac-specific versions released alongside Windows editions. |
| Word Mobile | A lightweight version of Word for mobile devices, optimized for touch. |
To find out what version of Microsoft Word you're using, try these steps:
-
If Word is installed on your computer (Windows or Mac)
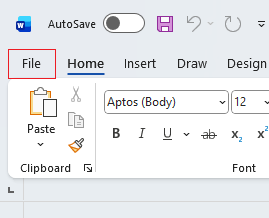
In Word click on the File button in the top left of the screen:
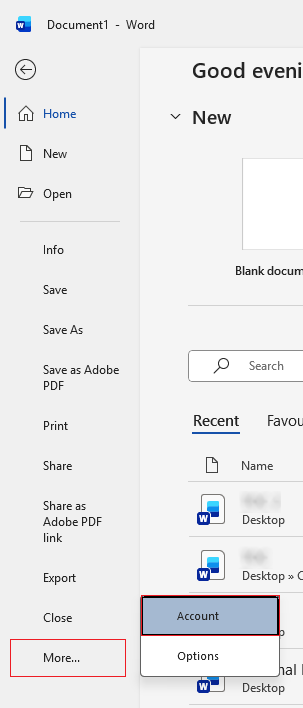
Then click on Account (it may be under More...). For older versions click on Help.
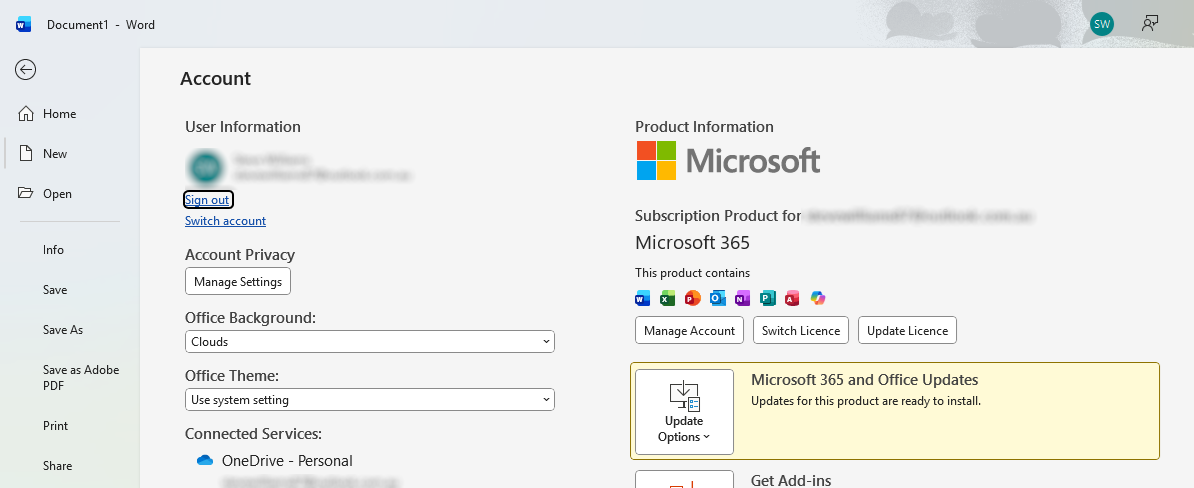
Now you'll see information about the version of Word you're in. Look under Product Information on the right or click About Word. Here in this example it's showing my version of Word is Microsoft 365 but this could say Word 2021 for example.
-
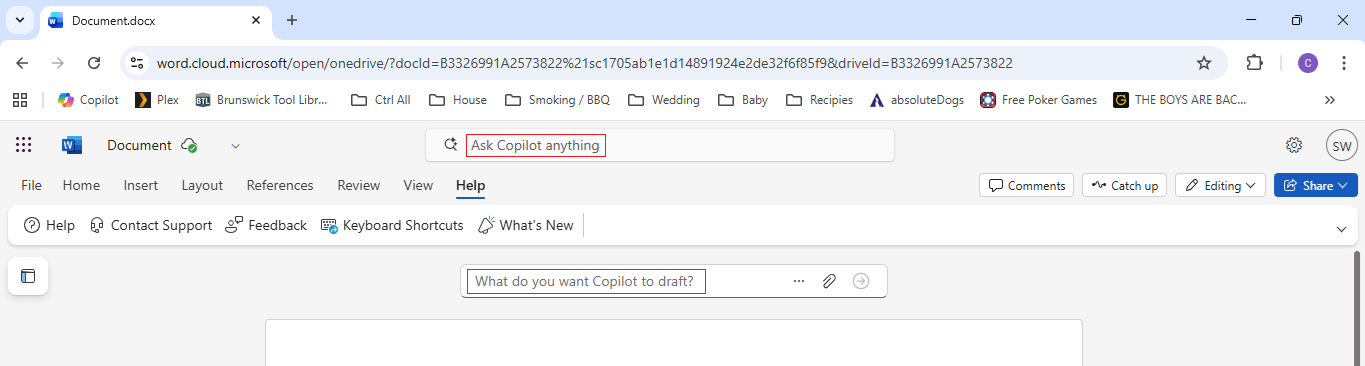
If you're using Word online in a web browser
If you can see 'Copilot' above the page you're using Microsoft Word 365 in your browser.
If you don't see it then you're likely looking at the free Word for the web version (formerly known as Word Online). The difference is the free version is slightly more limited in what you can do; if you are on the Microsoft 365 subscription you can use some more premium features in the browser.
- Mobile/Tablet – If you're using the Word app on a phone or tablet, you're using Word Mobile.
Note: For the purpose of demonstration here all the examples are using Microsoft Office 365.
Where to now?
Now you know how to get set up with the Word application and understand the main interface, you might want to explore these articles depending on what you need:
- How to select text in Word
- Pages and view options
- How to save
- The difference between documents and templates
- How to change the formatting (look) of text
- How to insert images and graphic visuals
Otherwise feel free to use the side menu or type what you're after in the search bar.