Here's what this article about tables covers:
- Creating tables
- Deleting tables
- Adding data into a table
- Add new table rows or columns
- Altering tables
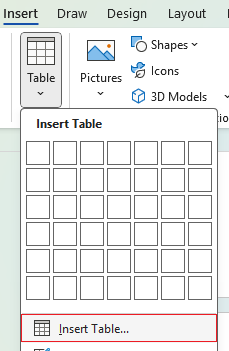
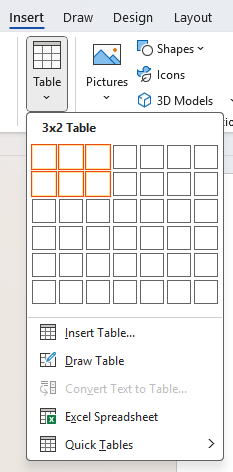
Creating tables
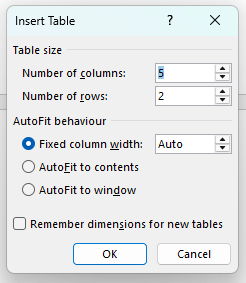
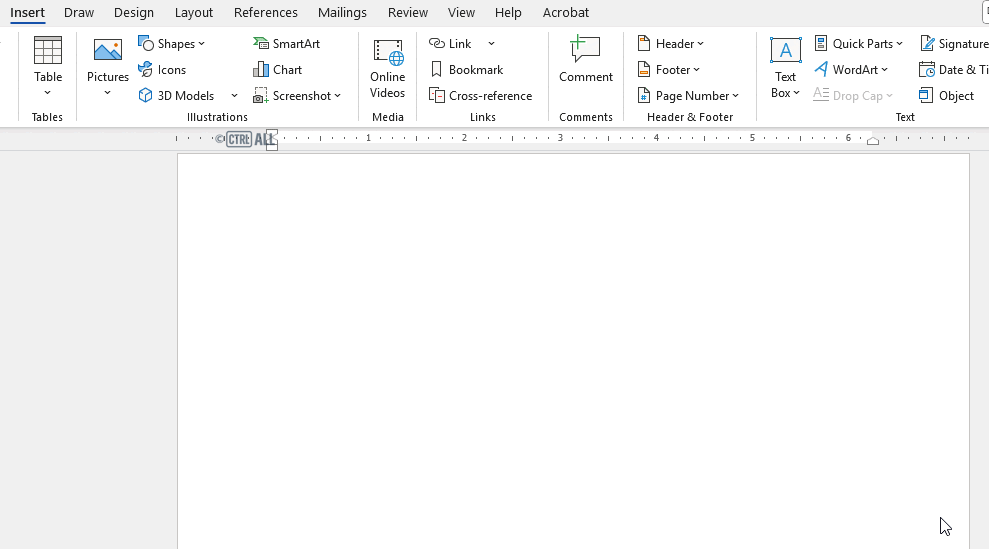
To create a table, select the Insert tab on the ribbon, then select Table. This will bring up a menu with a grid which you can choose how many columns and rows you want the table to have:
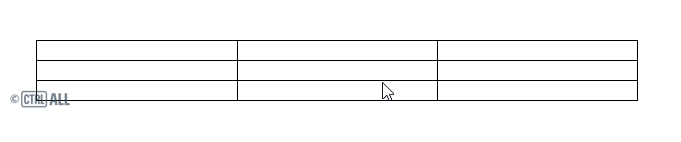
Here's it in action:
Deleting tables
Select the whole table by clicking into it and pressing the top left square then press Delete or Backspace.
Adding data into a table
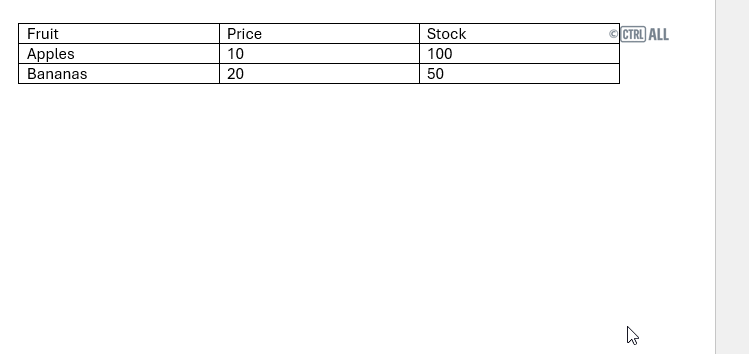
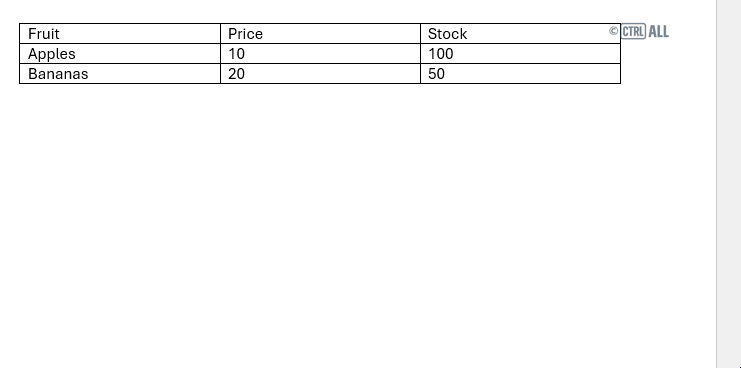
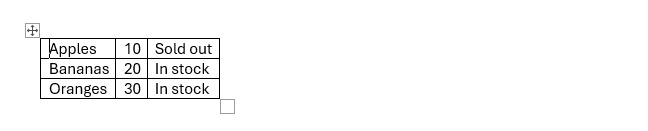
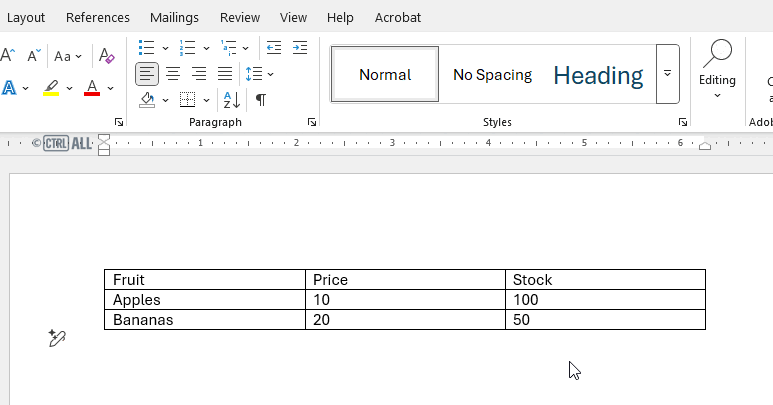
It's pretty simple to enter content into a table. Just click into the cell you want and type or paste the content you want to go there. Here's an example of the 3x3 table above filled in with text.

Images and tables
Images are a different matter though and can cause a few issues. If you're experiencing problems with images and tables take a look at this article: Tables: Fixing table image problems
I pasted an image into my table and it's altered my columns and rows
This happens often, answer here: Image has changed my cell size (column width / row height).
I want my content/text to sit at the bottom or centre of a cell not the top
That's altered via cell alignment options. By default table content is aligned top left.
- For text go here: Table cell alignment
- For images go here: Image doesn't align properly in the cell
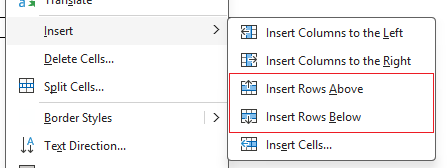
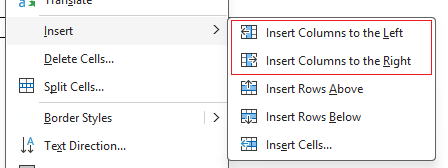
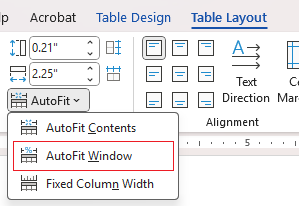
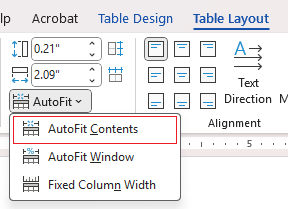
How to add a new table row or column
With the table selected you see the Table Layout tab appear on the ribbon. On this tab you'll find options to insert rows and columns. It matters where you have the insertion point in the table as that is where the new row will be inserted above or below it, same goes for inserting a column to the left or the right.

Here's those options in action:
Note: A quicker way to add a row below is to point the insertion point at the end of the bottom right cell (after any content) and press Tab.

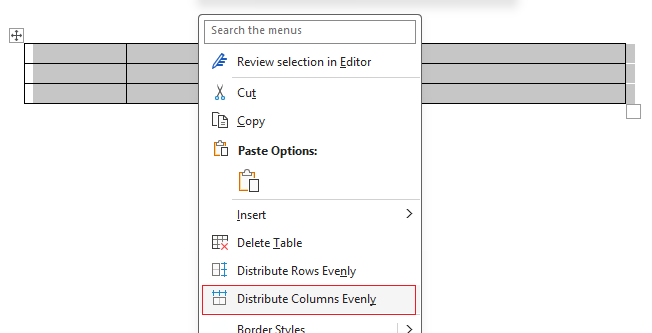
Altering tables
Altering tables is straightforward once you know how. Depending on where you hover the cursor the cursor icon will change for different tools to adjust the table or content within.
Hover over a row to see that function in action.
| Function | Action | Cursor icon |
|---|---|---|
| Select text in table cell | Hover over text, then when the cursor icon changes double click to select a word. |  |
| Select whole cell | Hover just to the right of the left cell border, then click when the cursor icon changes. |  |
| Select multiple cells | Hold down click and then drag ('click and drag') from one cell to another. | |
| Select whole column | Hover over top of column, then click when the cursor icon changes. |  |
| Select whole table | Hover anywhere in the table, then click the square icon that appears in the top right corner. | 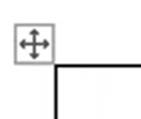 |
| Adjust column width | Hover just to the right of the left cell border, then click and drag when the cursor icon changes. |  |
| Adjust row height | Hover over row border, then click and drag when the cursor icon changes. |  |
Here's some more features on tables covered in the intermediate version of this article:
Where to now?
- Have a look at Tables: Formatting:
- Table gone wrong? Try these fixes: