Fixing tables over pages
Tables extending across multiple pages can sometimes throw up a few headaches. Here's a few scenarios you might encounter and fixes for them. In this article:
- Table content splitting across pages
- What if I need my content to stay on one page?
- Repeating a table header row across pages
- Include other rows in repeated table header rows
- Table header rows repeating with unwanted merged cells
- Merging multiple rows with the header row
Table content splitting across pages
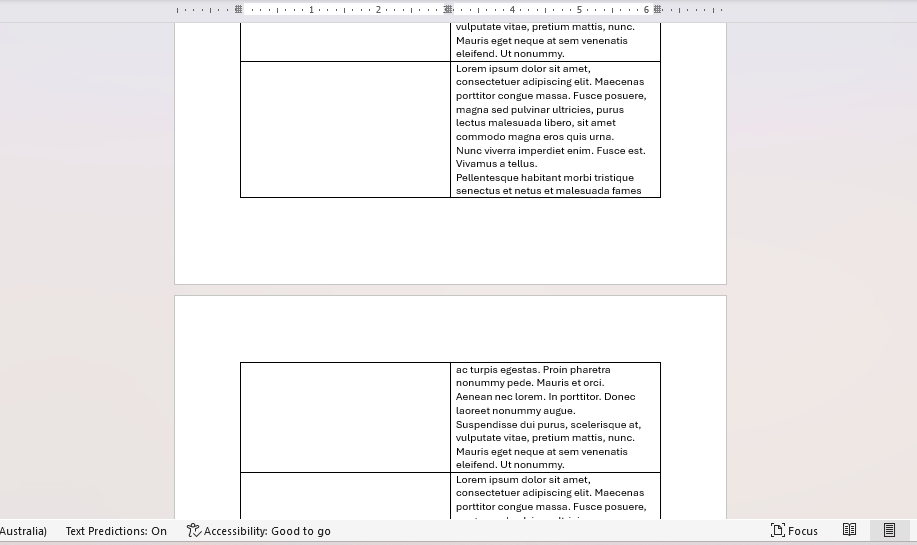
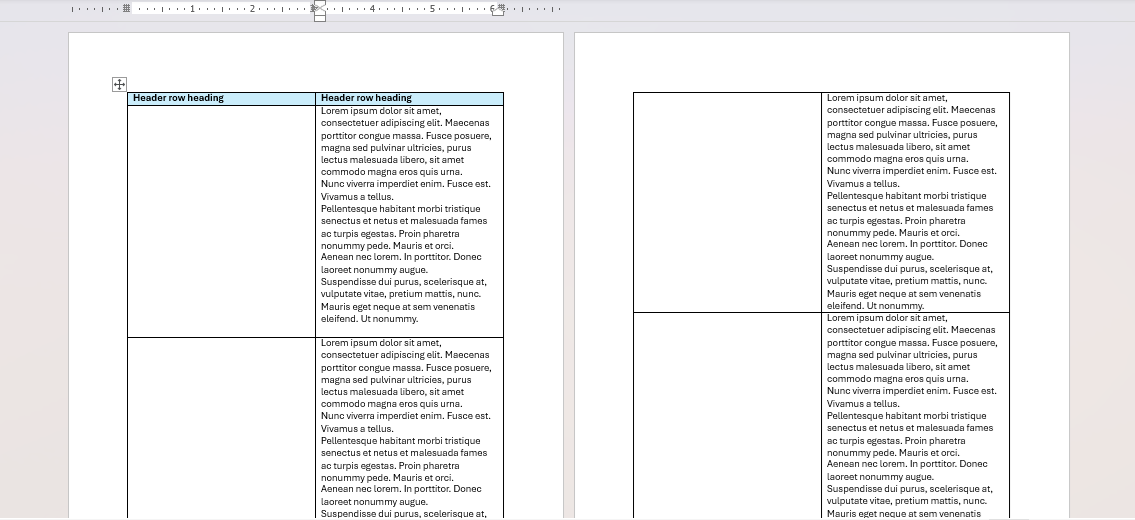
If your table content can’t fit on a page it will overflow to the next page. So now the row is essentially split straddling both pages. If you don’t want table rows breaking across two pages like this then there is an option you can apply to push the whole row affected down to the next page. This can be useful where it’s important to keep information together.
Right click anywhere on the table and select Table Properties.
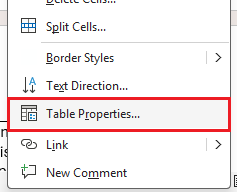
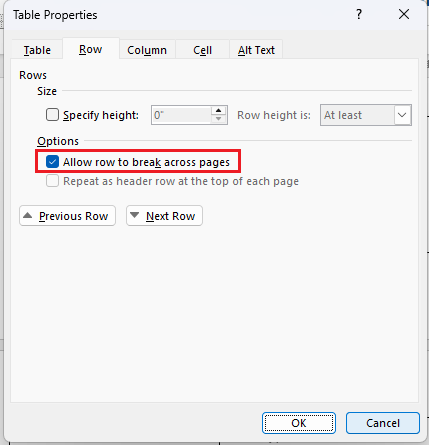
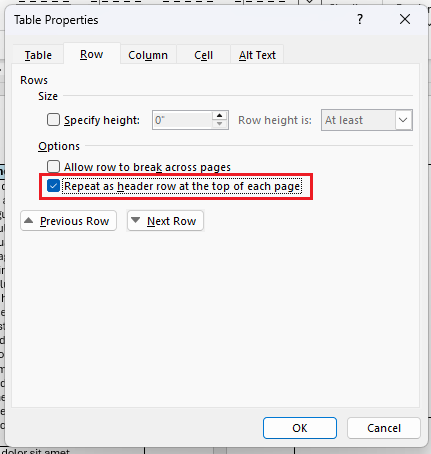
In Table Properties under the Row tab the option Allow row to break across pages will be checked by default, uncheck it, then press OK.
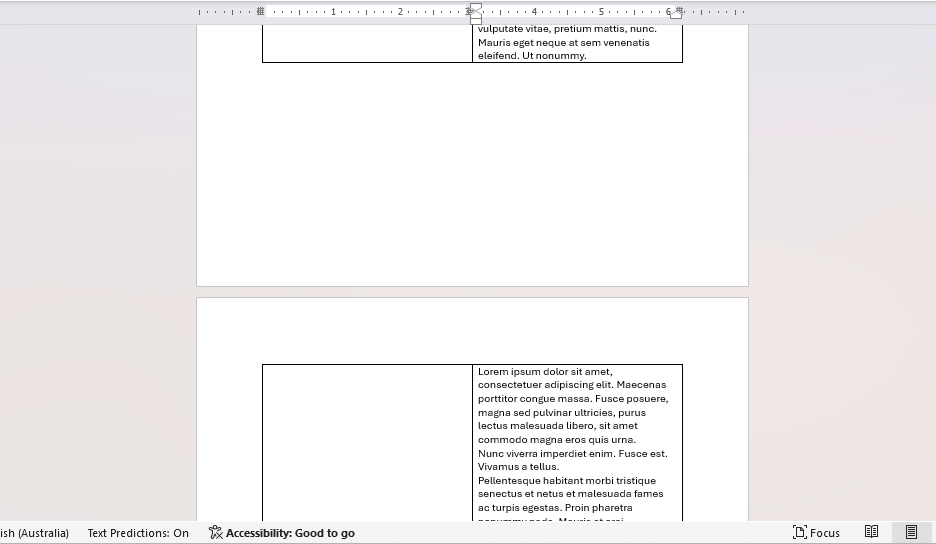
Now instead of content overflowing the whole row moves down to the next page instead.
Note: It will leave a space on the page before, so consider whether this is what you want.
What if I need my content to stay on one page?
Table content overflows to the next page if it can't all fit on that page. If you need all the content to fit on the page before consider:
- Removing empty lines that you don't need (typically caused by hard returns or soft returns)
- Reducing the font size
- Resizing images to fit
- If you have space try expanding the column width to give the content more space
- If possible alter the document's top and bottom margins to be wider. This should be a last resort though as it affects the whole document or section.
Repeating a table header row across pages
If your table is over more than one page and you have a header row you it won't come across to the next page by default. To have the header row appear the top of each page your table extends to is an easy fix.
Click on that header row, then right click and select Table properties.
In Table Properties under Row check the option Repeat as header row at the top of each page, then click OK.
Note: If the option is greyed out for you that means you’ve clicked on/selected another row that’s not the header row.
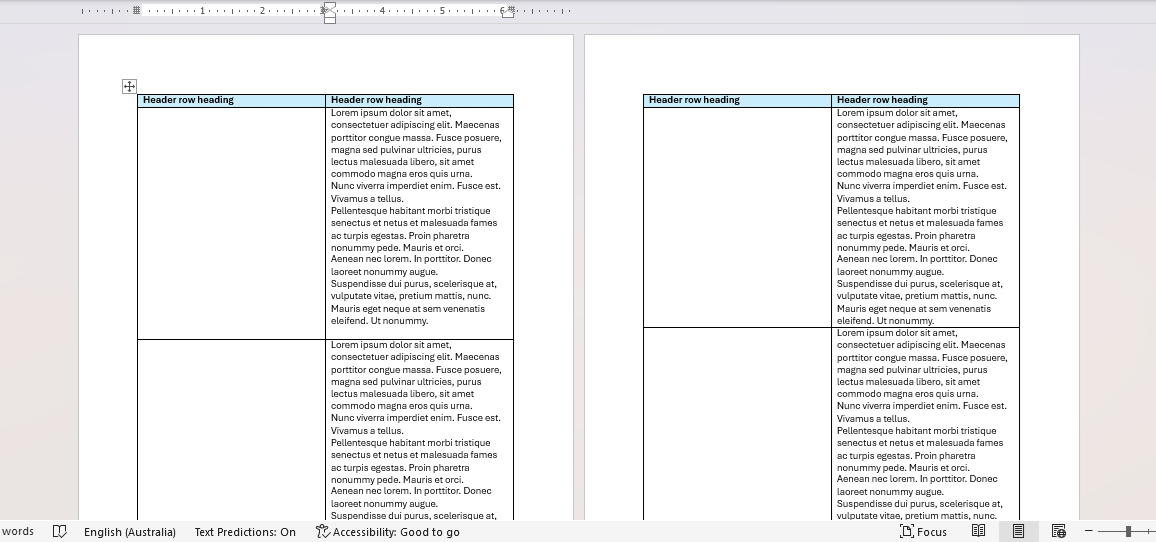
Now the header row is applied at the top of each page.
Issues you can come across
Even when Repeat as header row is selected, there are other things that might require some surgery for it to work as you need it.
Include other rows with repeated table header rows
In some cases you might want subheading rows to repeat with the header row on other pages the table extends to.
To do this simply select the header row and extra rows you want to include, then do the same as shown above; right click, go to Table properties then on the Row tab check Repeat as header row at the top of each page, then click OK.
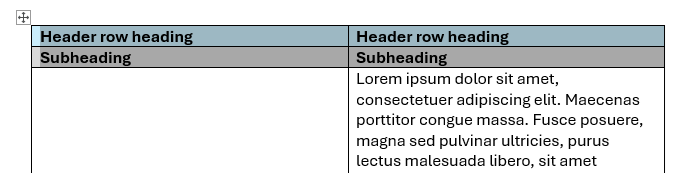

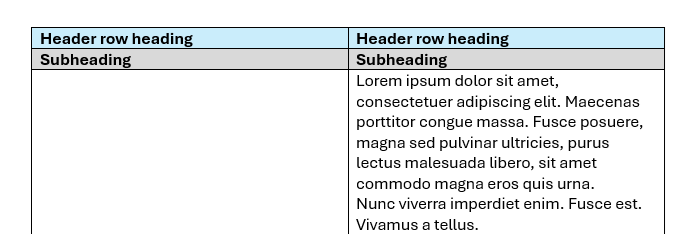
Table header rows repeating with unwanted merged cells
Here we’ve got a cell on the right column merged with the header row. When repeating the header row on the next page, because it's merged with the header row and we have Repeat as header row switched on, it's bringing across that second row as well.

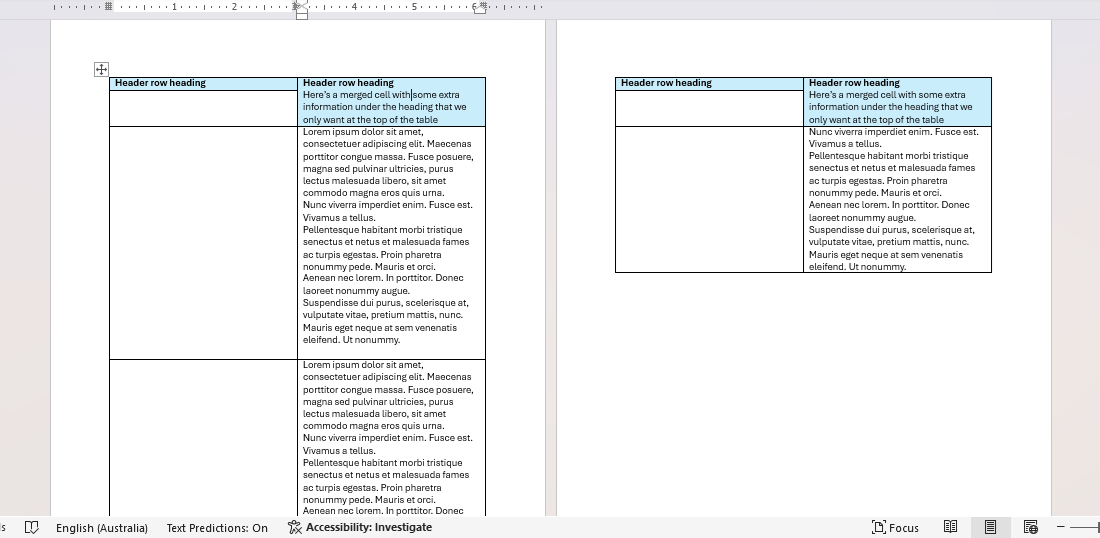
What if you don't want that and just want the top header row repeating? There’s a few ways we can tackle this:
- Ask yourself do those cells really need to be merged? You can have them separate and alter the table's formatting with borders and shading so it still looks merged if needed. That way the top row remains a true header row and Word will only repeat that.
For the example above we'd rebuild the rows. The easiest way to do that would be to merge the left column's 2nd row with the header row, create a new row below it and move the extra content into that row (cut and paste it), then clean up the header row height (adjusting it with your mouse) and if needed style the new row e.g. if you want it to stand out as a subheading.
- If you want merged cells to show on some pages but not on others then that’s trickier. Instead it’s better to split your table into different tables and create a new header row matching the last.
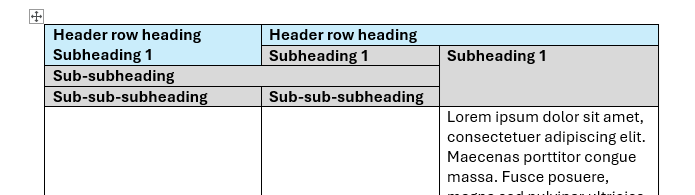
Merging multiple rows with the header row
Another trick to keep in mind is so long as Repeat as header row is switched on, any rows merged with the header row (including any rows merged with that row too) will be repeated on other pages the table extends to. You can actually get quite complex with this, like in this example below where the merged rows on the right share the same row as the merged rows on the left, so Word includes them all as one large header row.

Found this useful? Share it with others.