Word has several options for inserting images and graphic visuals. Here's a quick look at each type you can insert:
| Image/Visual graphic type |
Example |
|---|---|
| Images/Pictures |  |
| Shapes | 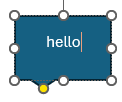 |
| Icons |  |
| 3D Models | 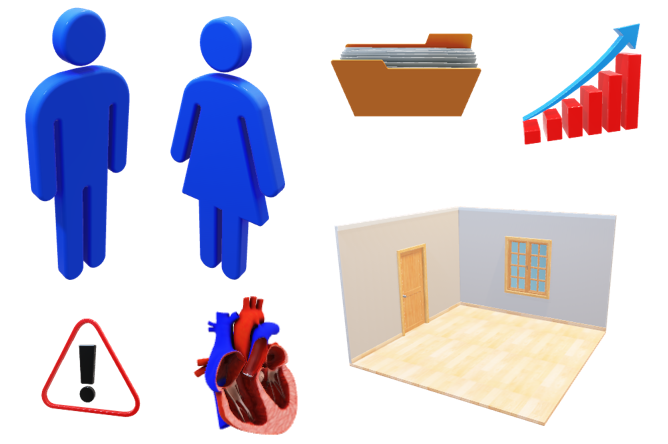 |
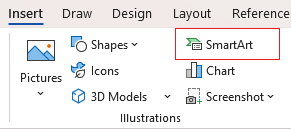
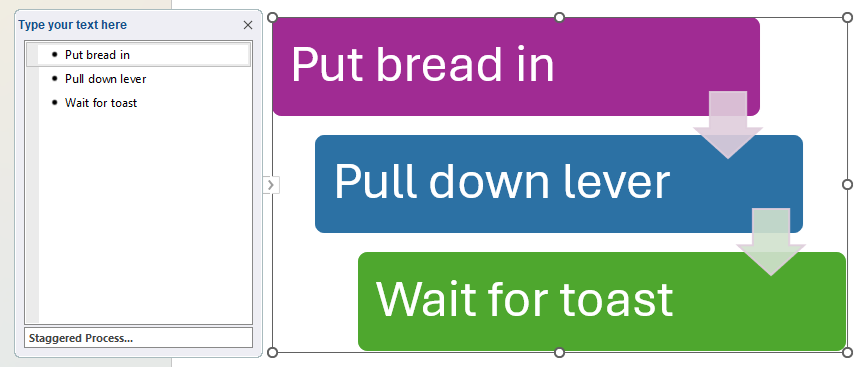
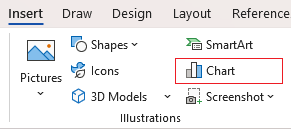
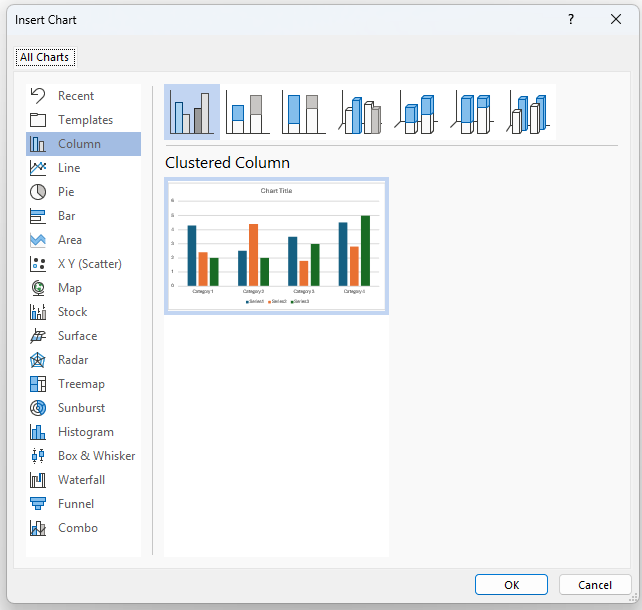
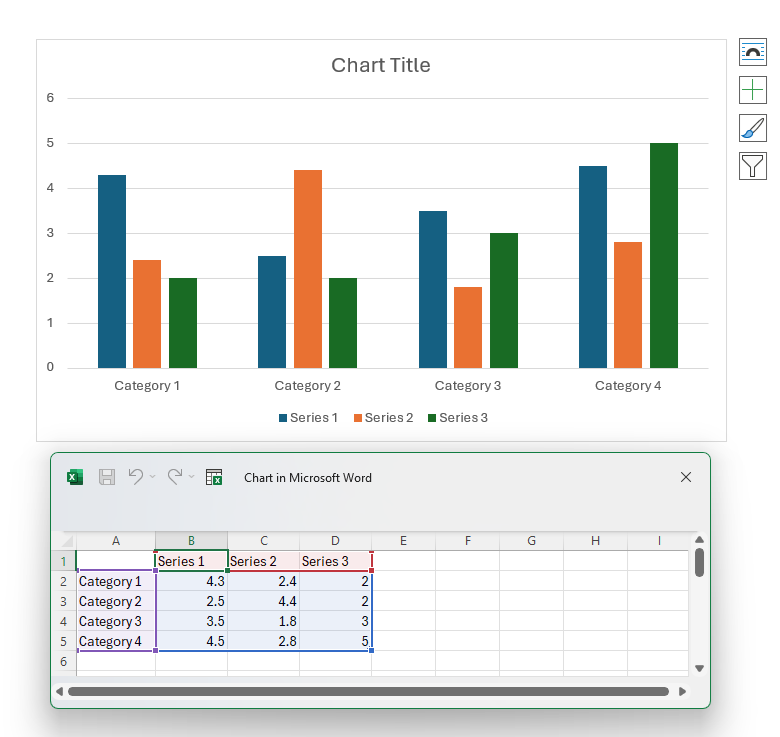
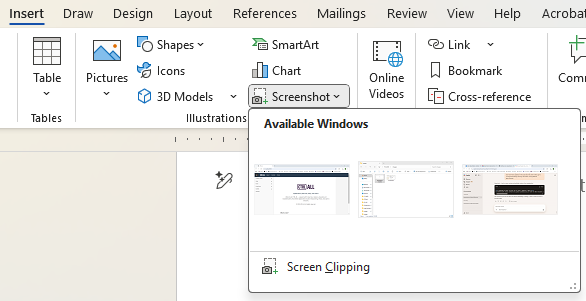
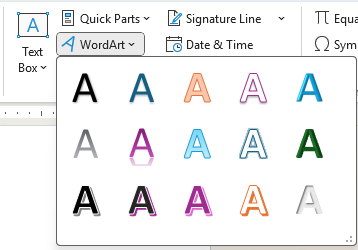
You can also insert WordArt, SmartArt, charts and screenshots; these are explored in the intermediate version of this article.
Inserting images/pictures
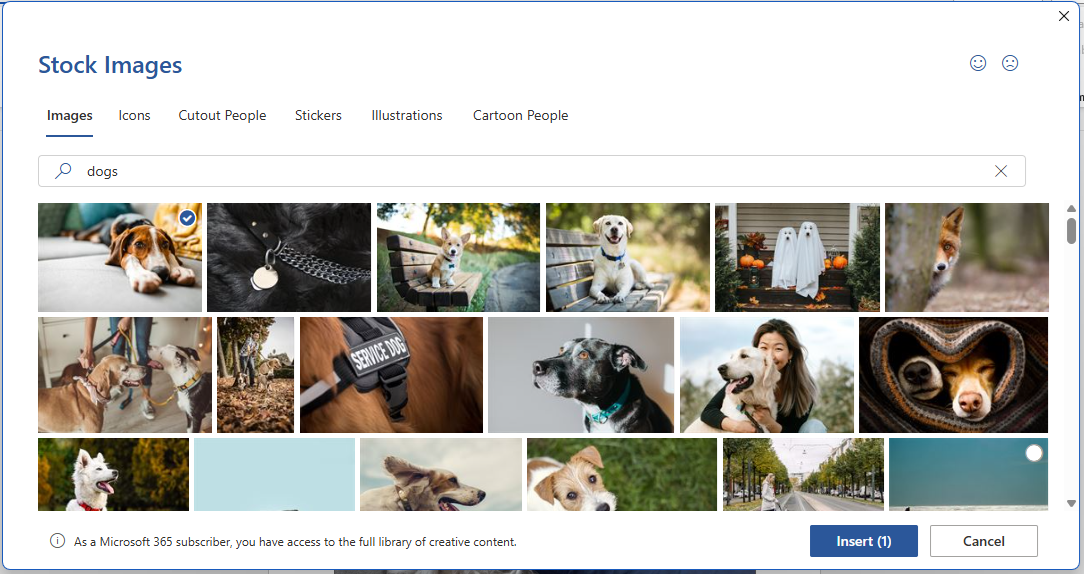
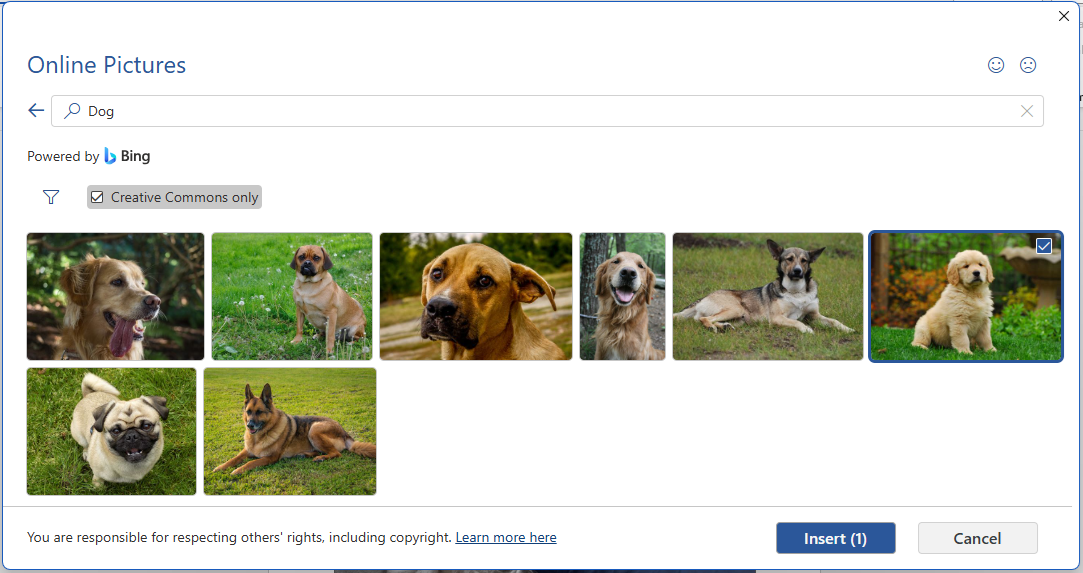
You can insert images stored on your device, choose from Word's own library, or search for images online using the Bing search engine. To find these options go to the Insert tab on the ribbon, then select Pictures.
Note: If you have a Microsoft 365 subscription you'll also see an option to generate an image by Microsoft Copilot AI.
Inserting images/pictures from your device
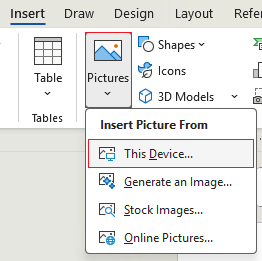
You'll most likely want to insert an image file you already have. To do this first select where you want the image to appear (indicated by the insertion point after you've clicked), then go to the Insert tab on the ribbon, and select Pictures > Insert from Device:
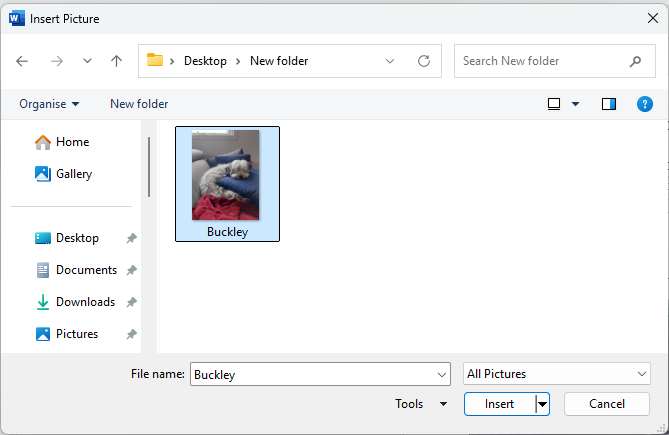
This opens up an Insert Picture browse window to find and choose the image file to insert into your document. There are common shortcuts on the side pane such as Desktop and Downloads to help you navigate to the file. Once located, select the image file to insert by clicking on it once, then click the Insert button at the bottom of the window.
The image will now appear on the page. Depending on the size of the file you may need to resize it. In the example below the image has a high resolution (quality) so it takes up a lot of space.
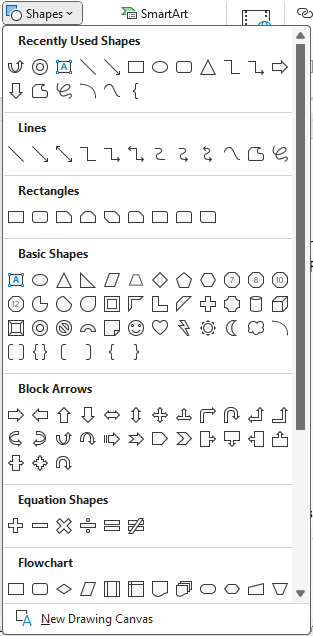
Inserting shapes
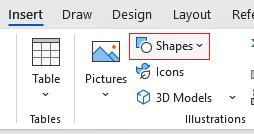
Word has many different shapes you can insert. Some allow you to type text inside them too. To insert a shape go to Insert > Shapes. A large drop down menu will appear with shapes to choose from.
Click on one and your mouse cursor icon changes to a crosshair.

From here you can either single left click to insert the shape at a default size or hold click and drag to drag out the shape to a custom size.
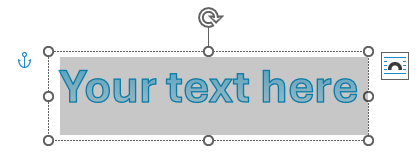
Single click for a default size:

Or click and drag a shape to the size you want:
Once inserted you can alter shapes in their position, colour, size and some let you type inside them. To edit and alter shapes see this article: Altering images and objects.
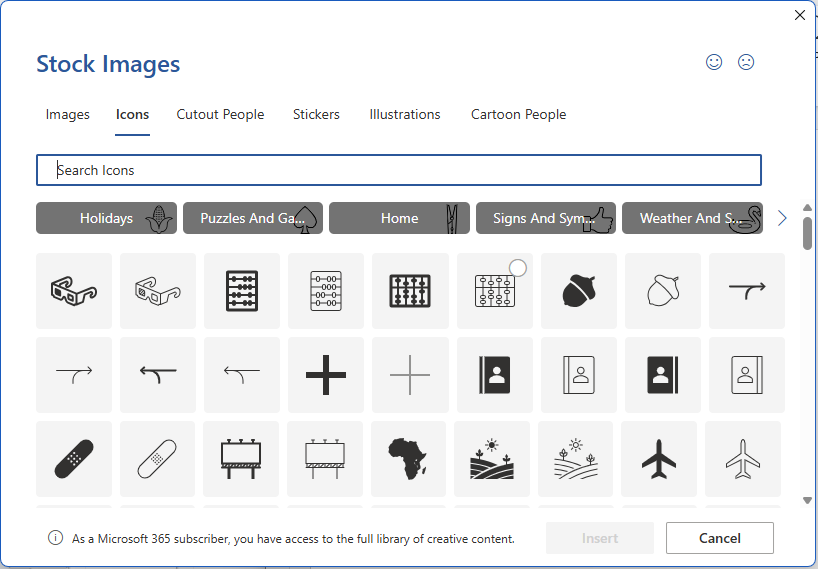
Inserting icons
Insert an icon via Insert > Icons:

This brings up a window with icons to choose from.
Once inserted you can colour and resize icons. To see how to do this look at this article: Altering images and objects.
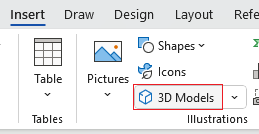
Inserting 3D Models
Insert a 3D Model via Insert > 3D Models:
This brings up a window with 3D Models to choose from. Some of them are animated as well.
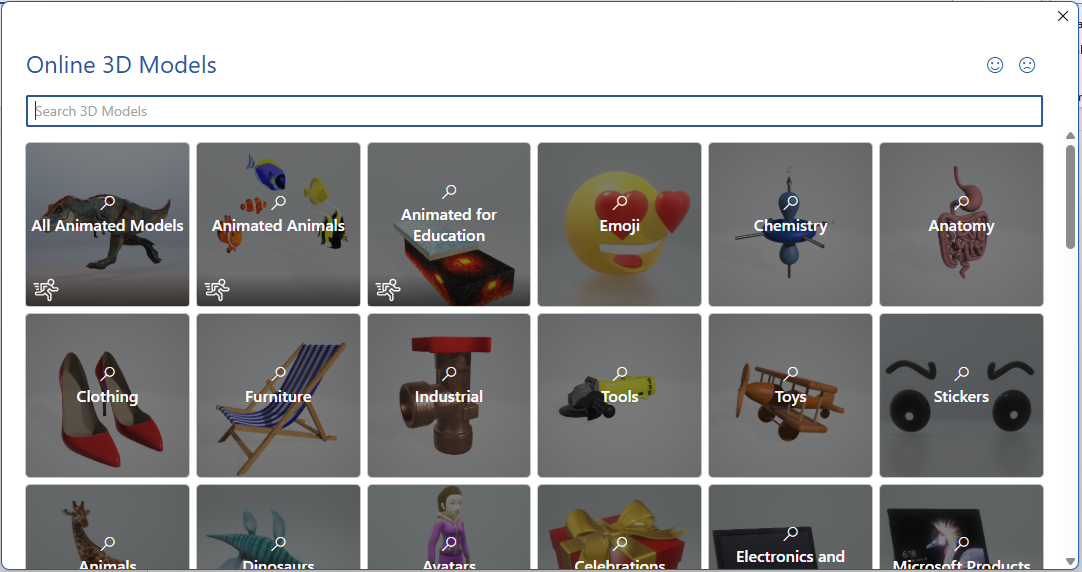
You can move, resize and rotate 3D Models, as well as rotate some of them on an X-axis (left/right) and Y-axis (up/down). To learn how to do this take a look at this article: Altering images and objects.