This article looks in depth at how to alter images and graphic visuals and some objects:
Content-wise the below applies specifically to these images and objects:
Altering images and objects
When an image or object is inserted it is automatically selected with a selection frame around it. The selection frame has points around the image called sizing handles used to resize it as needed. Some will also have a rotate handle icon to rotate your image/shape freely.
Your cursor icon changes depending on where you hover it, indicating available actions you can do by clicking and dragging.
Hover over the table rows below to see an example of each in action:
| Function |
Action |
Cursor icon |
|
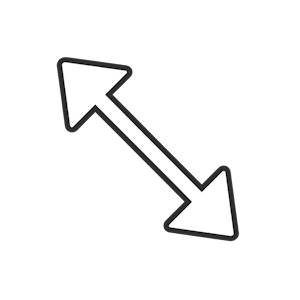
Resize: Hover over sizing handles 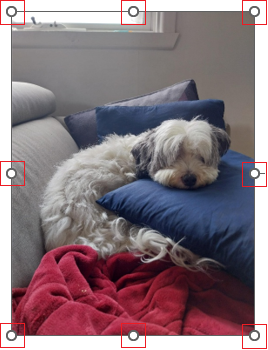
|
Click and drag the sizing handles (horizonal, vertical or diagonal) to resize; drag inward to reduce the size, drag outward to increase the size.
A note on proportions when resizing:
- Resize in proportion: Just drag the sizing handles as needed.
- Freeform resizing: Hold Shift and drag the sizing handles.
- Resize from centre point (instead of from the opposite edge): Hold Ctrl and drag the sizing handles to resize the image from its centre point.
- Freeform resizing from the centre point: Freeform resize the image from its centre point by holding Ctrl and Shift and dragging the sizing handles.
|


|
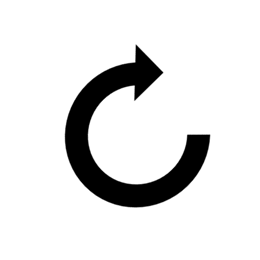
| Rotate: Hover over the rotate handle 
|
Click and drag the rotate handle clockwise or anti-clockwise to rotate the image. Alternatively you can also use the Layout Options or Picture Format tab for precise rotation like 90° or flip horizontal/vertical. |
 |
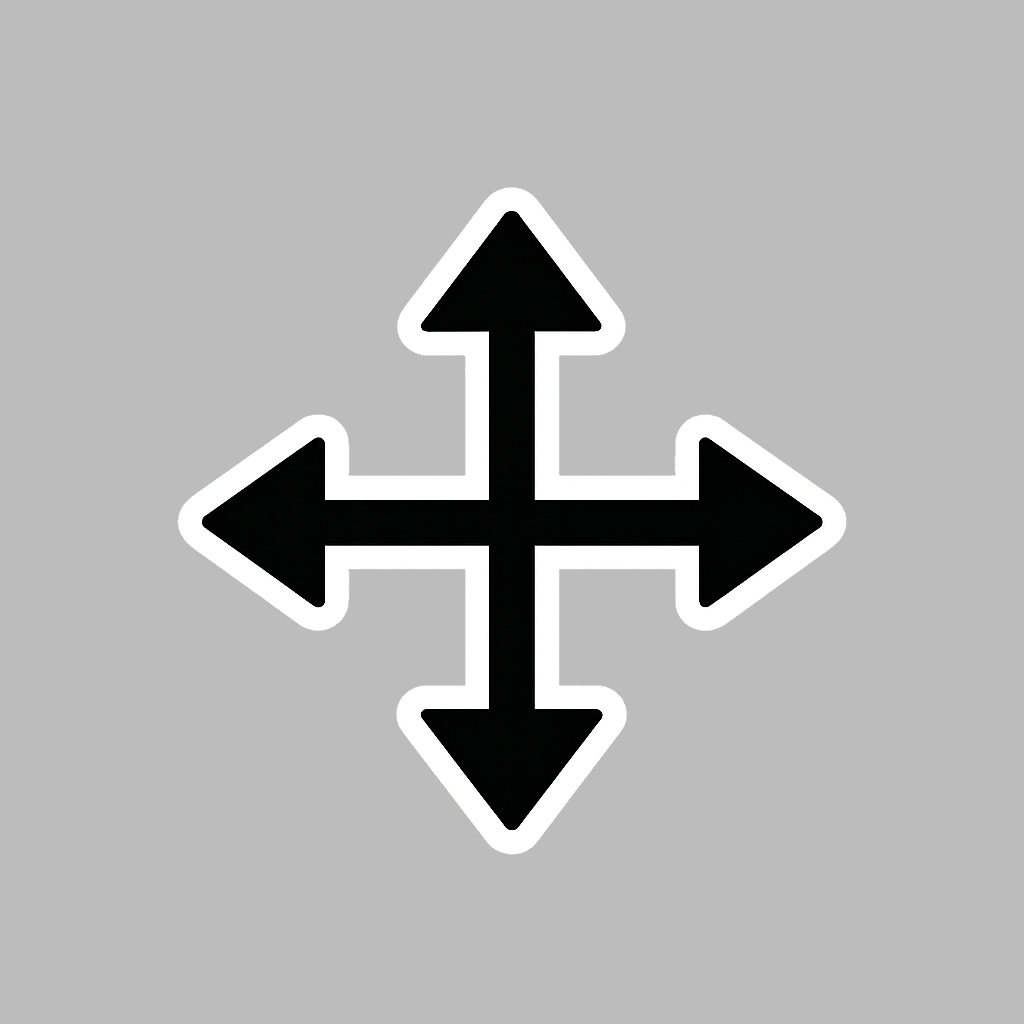
| Move: Hover anywhere over the image/shape |
Move: Hover anywhere over the image/shape and the cursor changes to a four-way arrow. Click and drag to move the image around. Note: By default images fit within the text sharing a line with it which will restrict how and where you move it. To move images more freely you can change its layout options so it 'floats' above, below or amongst text. |
 |
| (Shapes only) Alter: Hover over adjustment handle 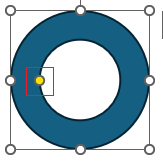
|
Depending on the shape sometimes you'll see a yellow circle called an adjustment handle which you can click and drag to alter the internal dimensions of the shape like the angle, curve, width, tail length or custom geometry tweaks. |
 |
| Add text (Shapes only): Click inside the shape 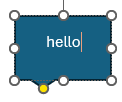
|
Certain shapes like speech bubbles let you type into them as soon as you've inserted them. For other shapes that allow text you need to click into them in order to type text. |
 |
| (3D Models only) Rotate: Hover over the central rotate handle 
|
This applies to 3D models only; clicking and dragging the central rotate icon lets you rotate the model around on a Y and Z axis. |
|
Layout options
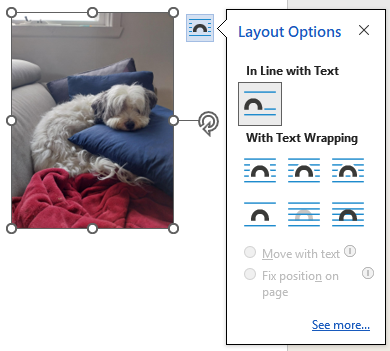
Select an image/shape and you'll see a small box appear top right. Clicking this shows layout options with wrapping styles. Wrapping alters how text and content flow around the image/object and whether it can move between, above or below the text rather than in line with it. Wrapping is useful to improve your document's layout, readability and aesthetics.
Hover over the rows below to see how text acts around the image/shape each option:
| Layout option |
Function |
Layout options in line with text |
This is the default option. The image/shape will sit alongside text sharing the same line. |
Layout options square wrap |
Text wraps around the outer edge of the image/shape’s selection frame in a square or rectangular shape depending on what you've inserted. This is useful for placing images/shapes beside paragraphs or in columns. |
Layout options tight wrap |
Text treats the image/shape like a solid block flowing around it, but doesn’t enter any internal gaps. This works well for Logos, cutouts and images with transparent backgrounds. |
Layout options through wrap |
As above but text will also wrap through transparent or open areas inside the image. Only noticeable on images with transparency and it needs to be a particular shape for this effect to work. |
Layout options top and bottom wrap |
Text remains above and below the image/shape, never beside it. This is useful for isolating visuals to make them stand out. |
Layout options behind text wrap |
The image/shape will sit behind the text like a background. This is useful for watermarks or decorative backgrounds, though it may make text hard to read. With this wrap option the image/shape can be moved freely anywhere on the page. |
Layout options in front of text wrap |
The image/shape floats over the text, potentially obscuring it. Can be used for overlays, callouts, or dramatic visual effects. This wrap option lets you freely move the image/shape anywhere on the page. |
When you select one of the text wrapping options two other options become active to choose from. Hover over below to see how each work:
| Text wrapping option |
Function |
| Move with text |
This is the default option. The image/shape will around move with the text when text or any other content is added or removed before it. Note: This won't work for wrapping behind and in front of text. |
| Fix position on page |
The image/shape will stay in place unaffected by any text or content added or removed before it. Text will flow around the image/shape instead. |
Anchoring
An image/shape set to be In Line with Text behaves like a text character on a line of text. It doesn't have a visible anchor icon because it's part of the text layer itself.
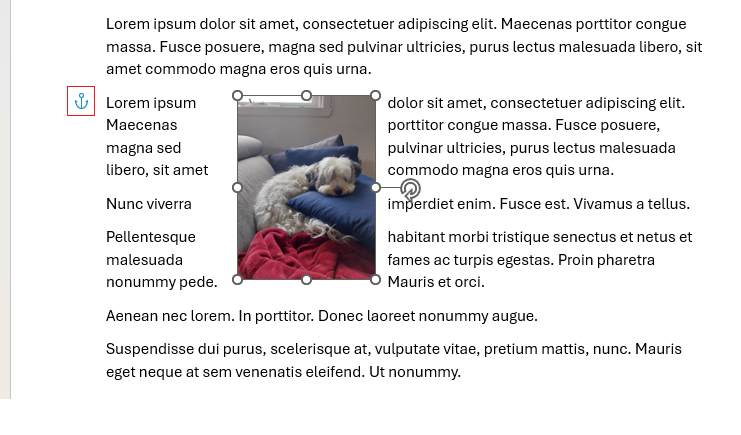
By contrast, images set to any other other wrapping styles (e.g. Square, 'Tight', or 'Behind Text') are known as floating images. You can position these anywhere independent of text, but they are also 'anchored' to a specific paragraph. This is indicated by a small blue anchor in the left margin when selected.
The anchor is helpful if you have the default option Move with text enabled, as you can use it to predict whether your image/shape will shift if that paragraph — or one before it — moves.
Locked Anchor
With floating images if you drag the image/shape far enough up or down the page, Word reassigns its anchor to a different paragraph. To prevent this, you can 'lock' the anchor.
Locking the anchor means that the image/shape will stay associated or 'anchored' with its original paragraph, even if you move it elsewhere on the page. The image/shape can move but its anchor — and thereby its association to that paragraph — stays fixed.
Why does this matter? Because if the anchored paragraph is moved (drag and dropped or cut and pasted elsewhere, for example), then the image will move with it, maintaining the same relative position from the paragraph as you've chosen to position it.
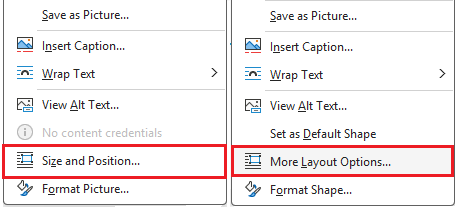
To lock an anchor right click the image, then from the menu:
- For images, icons and 3D models select Size and Position
- For shapes select More Layout Options
On the window that pops up select the Position tab and then check Lock anchor.
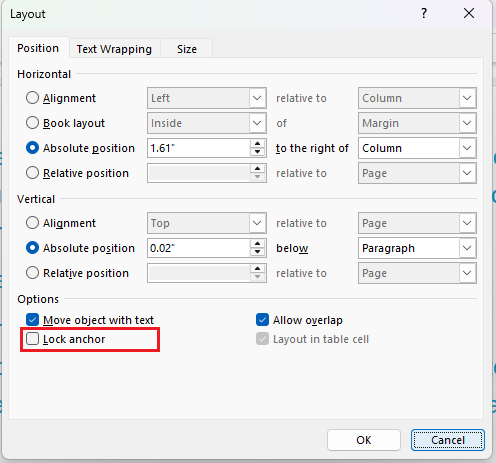
The anchor turns black and gains a little yellow padlock symbol indicating it's now locked as shown in the example below. Note how the image is far below the paragraph its anchored to. Unless the image is moved it will keep that position and distance from the paragraph wherever it is.