Styles
A style is a reusable set of formatting attributes like font, font size, colour, spacing, and alignment, which can be applied to text or objects. In this article we'll explore:
Why do Styles matter?
- They reduce the need for manual formatting.
- They standardise a document's appearance across headings, paragraphs, lists, and captions.
- Global updates — change the style once, and every instance updates.
Styles gallery
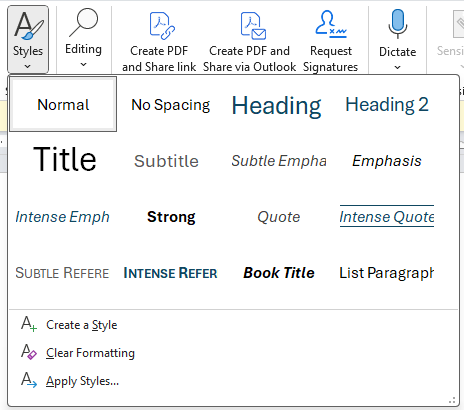
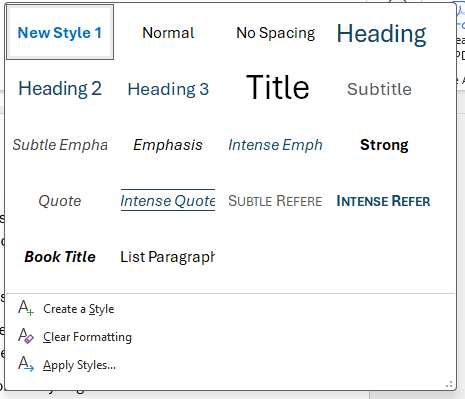
Click Styles and a drop down menu appears with a Styles gallery (formerly known as the Quick Styles gallery in older versions of Word). The default styles in the gallery are:
- Normal, No Spacing
- Heading levels (Heading 1, Heading 2, etc.)
- Title, Subtitle
- Emphasis, Quote, Strong, Reference
They’re stored as part of a style set, which defines the look and feel of a document (fonts, spacing, colours, etc.). You can change between style sets on the Design tab of the ribbon, but rarely anyone switches between these. What the majority of Word users do is just use the styles of the default style set 'Basic (Elegant)', and in some cases modify those styles or create their own.
Applying a style
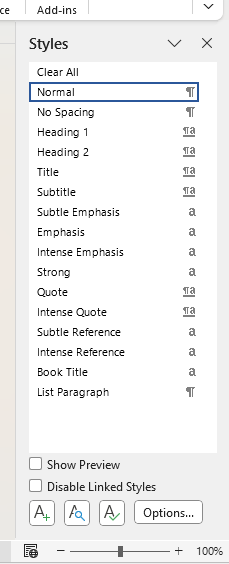
Set the insertion point against a paragraph then select a style from the Styles gallery to change the text's formatting to that style. In some existing documents and templates you may have several styles which aren't on the Styles gallery, instead you can view a list of all styles in the document.
Click on the bottom right corner square of the Styles section on the ribbon to bring up a list of styles.
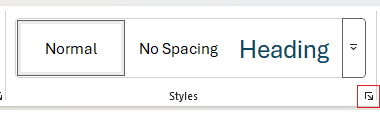
It's normally displayed as a popped out window at first, you can double click the header to make it snap to the side as a pane. From here with the insertion point on the intended text click on the style in the list to apply it.
Creating a style
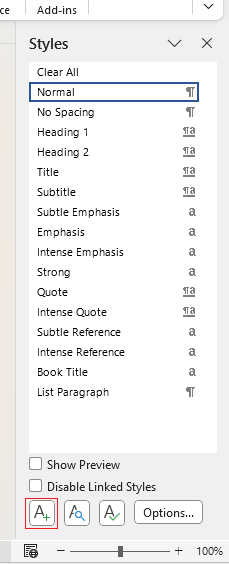
Creating a style is easy. On the Styles list click the bottom left A+ button. This will create a new style and gives you options to customise how it looks.
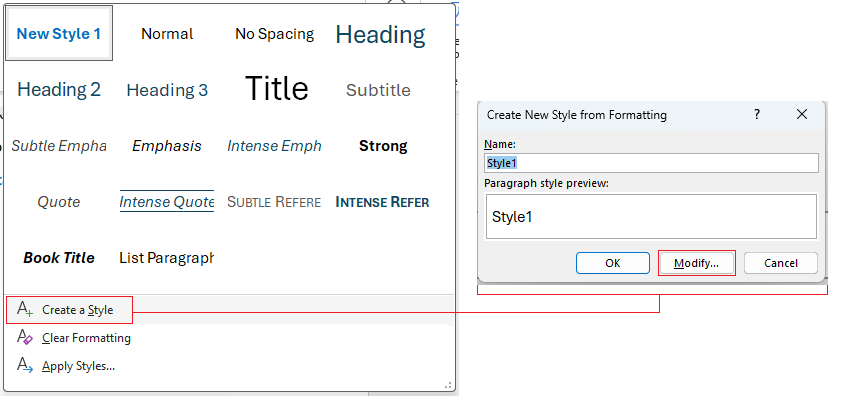
Note: Another way is via the Styles gallery clicking Create a Style which will prompt you to decide the a name first. Make sure to click Modify so you can decide determine its formatting otherwise clicking OK will just add a new style to the list based on the 'Normal' style, which you'll then just want to modify anyway:
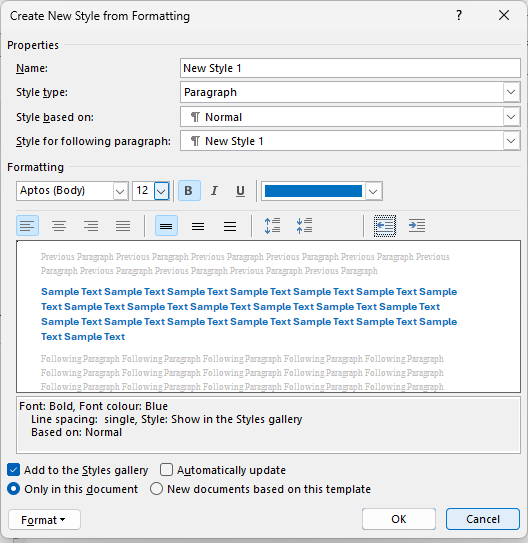
You'll then see the window of property and formatting options for the new style. Here you can edit:
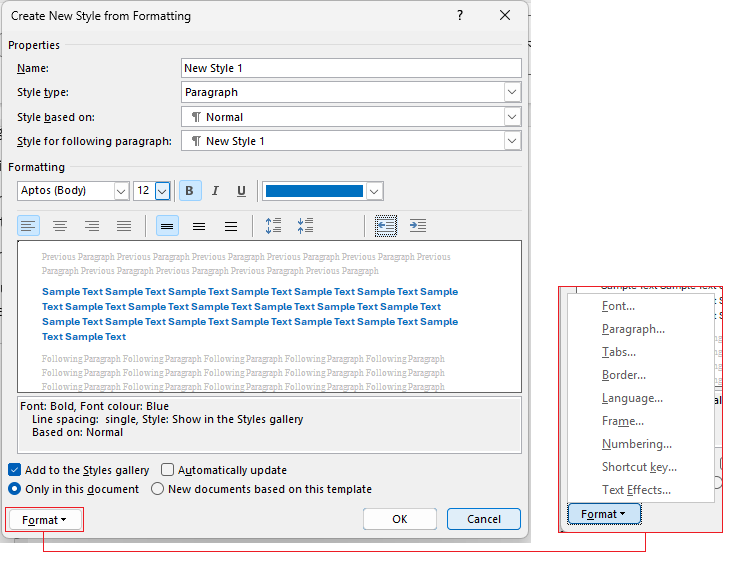
Bottom left is a Format button which provides more options. Here's what each one let's you do:
Adding a style to the Styles gallery
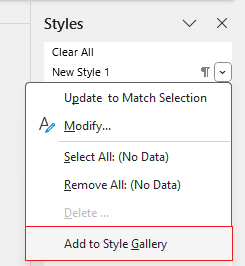
To manually add a style to the Styles gallery bring up the Styles list (bottom right corner button on Styles section of the Ribbon), then right click on the style and select Add to Style Gallery:
Modifying a style
Update a style based on selected text
The quickest way to modify a style is to format some text (typically the target text with the chosen style already applied) and manually format it, then right click on that style in the Styles gallery or the Styles list and select Update [Style] to Match Selection. The style will then update to that formatting and apply it throughout the document. It's a little like the format painter but en masse.

Modifying style options
There are further options you can modify a style with though. Locate the style in the Styles gallery or the Styles list, right click it and select Modify.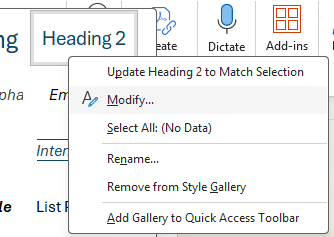

Found this useful? Share it with others.