Here's a breakdown of everything this article covers:
- What are headers and footers?
- What do you put in a header and footer?
- How to edit headers and footers
- Deselect a header and footer
- How to remove headers and footers
- Aligning content in headers and footers with tab stops
- Different headers and footers for first pages
- Different headers and footers for left & right (odd & even) pages
What are headers and footers?
Nearly every multi-page document will have a header and/or a footer. Headers are found at the top of the page, footers at the bottom. They're used to state certain properties about a document page to help users navigate, identify and/or understand its context.
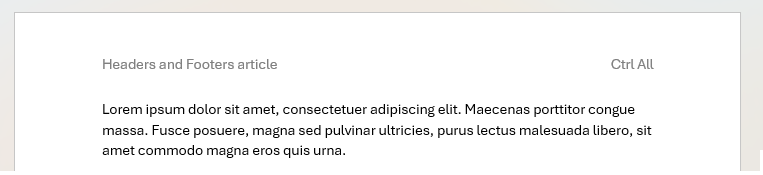
What do you put in a header and footer?
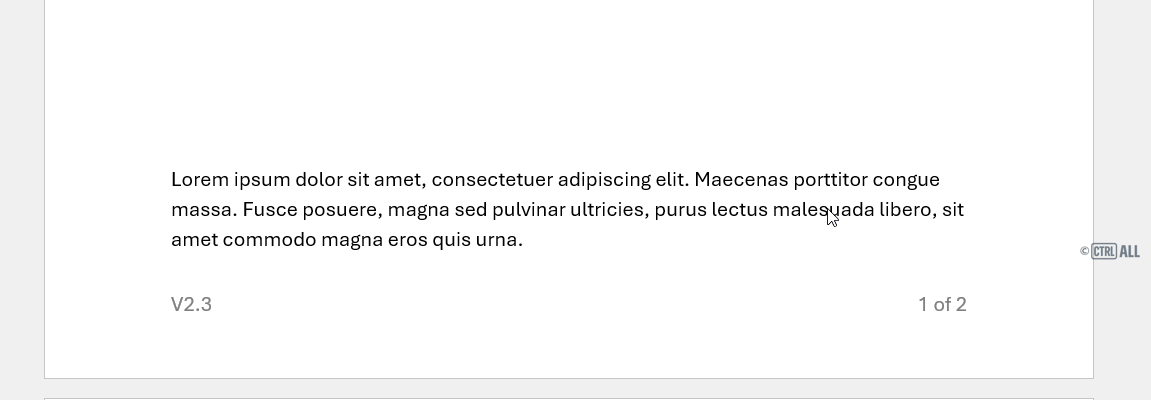
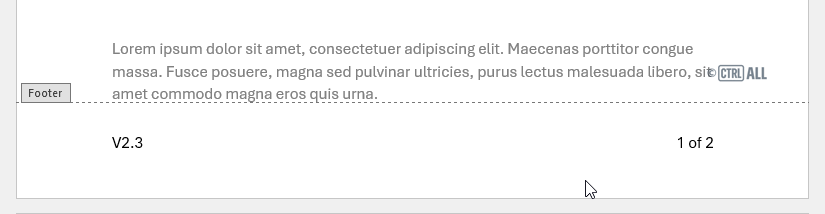
There's many different things that can go in a header or footer. The obvious one is page numbers which are usually found in a footer of a book or document. But there's a lot of other content you might find in them:
- The author or organisation who created the document
- Page numbering (e.g. Page 1 of 8, these generally tend to be on the footer)
- Date
- Name of a chapter/section/module/unit
- Contact information (e.g. email, phone, website and/or postal address)
- Confidentiality/Classification tags (e.g. 'Confidential', 'Internal use only', 'Not for distribution' etc.)
- Document status/workflow/process tags (e.g. 'Draft', 'For review', 'Pending Approval', 'Final' etc.)
- Version number
- Document ID
- Sources/references
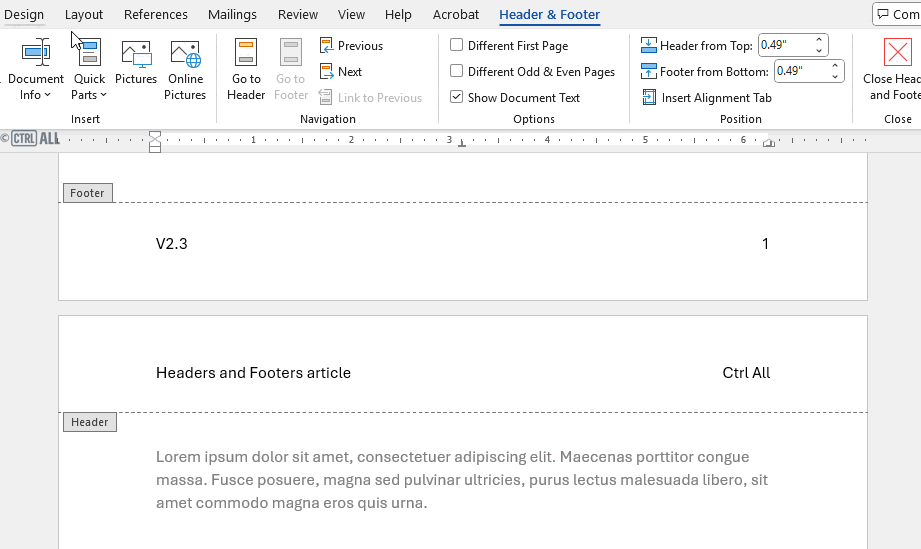
How to edit headers and footers
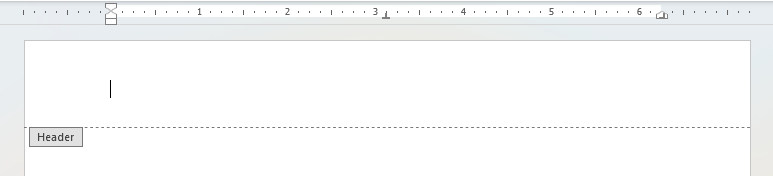
There's two ways to edit headers and footers. Either go to Insert > Header & Footer, or the much faster method is to double click on the top or bottom margin area.

Once selected the header or footer appears with a dotted line and tag. You can now type and insert content into the header/footer.

Deselect a header and footer
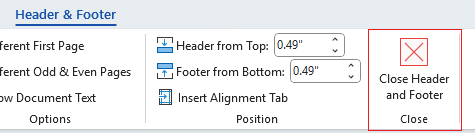
When you've finished editing the header/footer, double click on the main section of the page, or alternatively from the ribbon select Header & Footer > Close header and footer
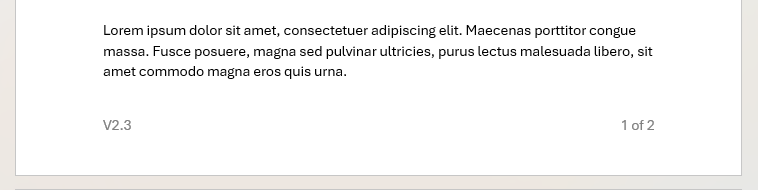
Inserting page numbers
Word makes it easy to add page numbering to your document. Go to Insert > Page Number and choose templated page numbering from the menus.
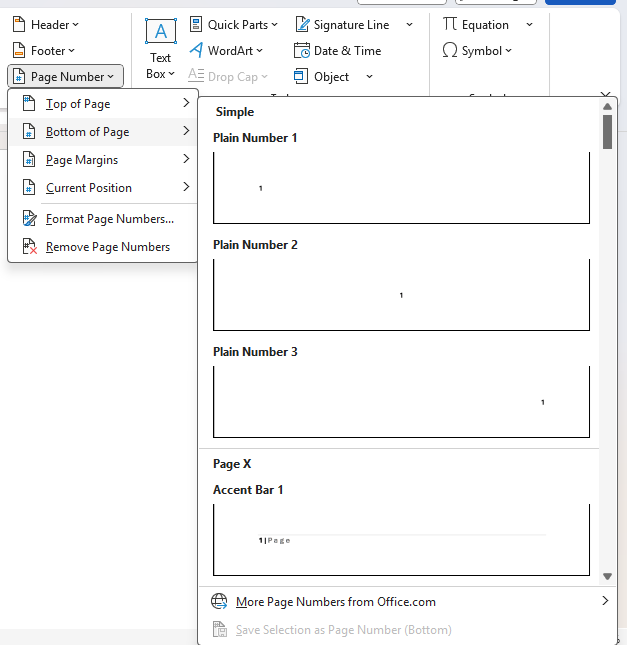
This will insert an automated field that shows each page's unique page number.
What if I want to show total pages 'Page X of X'?
That will involve adding another field using quick parts. See here: Inserting automated quick part fields
How to remove headers and footers
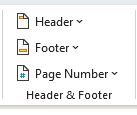
You don't need to have a header or footer selected to delete it. Go to Insert on the ribbon and select either Header or Footer, then select the Remove Header / Remove Footer option at the bottom of the menu.
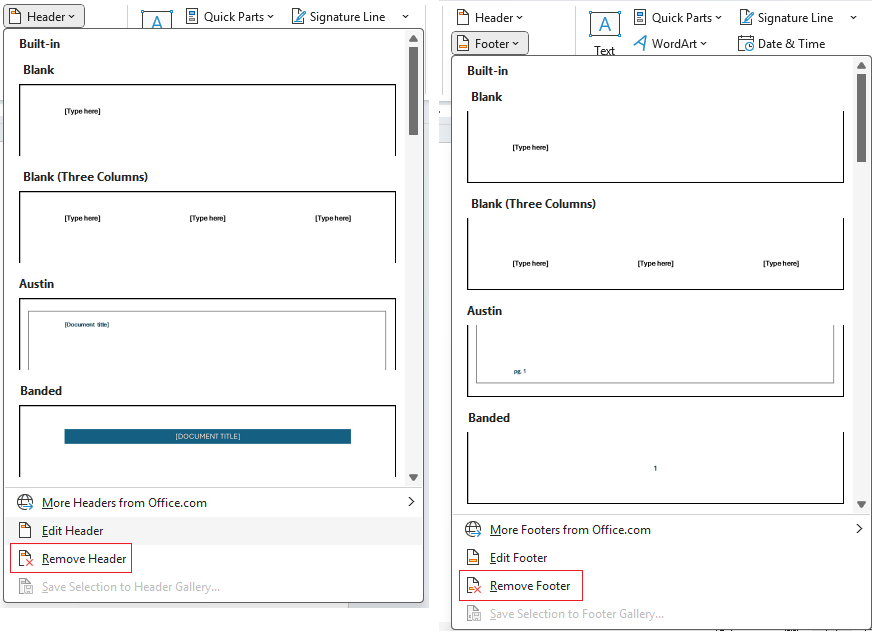
Alternatively, if you have the header/footer selected, you can select the same delete options from the Header & Footer > Header/Footer.
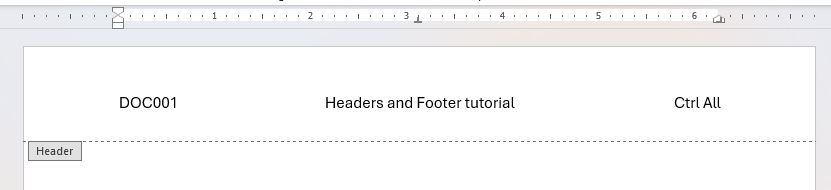
Aligning content in headers and footers with tab stops
While editing you may have noticed two of the tab stops symbols on the horizontal ruler there. There's actually three, one's hidden on the left by the indent markers.
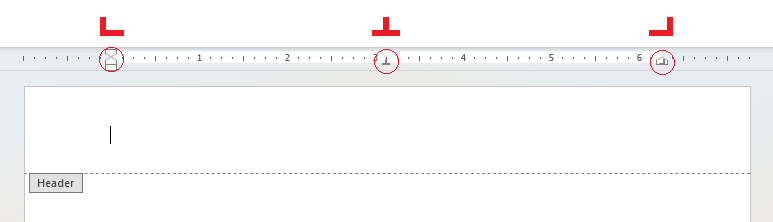
They have different symbols there for left, centre and right aligned tab stops. You can press the Tab key to move the insertion point between tab stops from left to centre to right. It's an easy way to have content aligned differently on the same line.
Different headers and footers for first pages
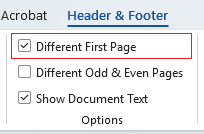
If your document has a cover page of some sort then you'll likely want to have it look different from other pages and not have the same headers and footers as the rest of the document. Sometimes you may just want the first page's header and footer blank. To differentiate the first page from the others, select any header/footer and then from Header & Footer on the ribbon check the Different first page checkbox.
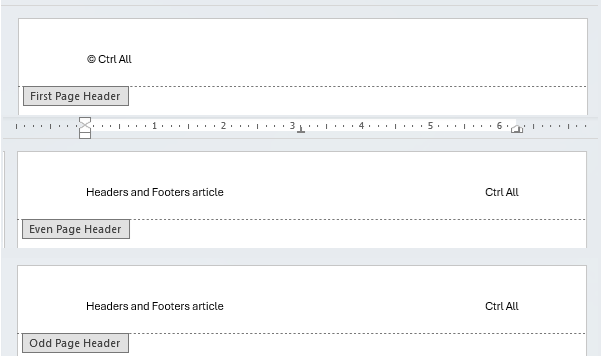
On the first page you'll see the tag change to First Page Header and First Page Footer appear. You can now edit that first page separately as you need to.
Different headers and footers for left & right (odd & even) pages
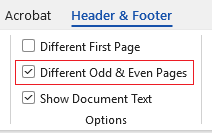
You may want differing headers and footers for left and right opposite facing pages (in the editorial world we call this 'verso' and 'recto'), such as for a book or a two-sided report. Microsoft Word caters for this via the Header & Footer > Different Odd & Even Pages checkbox which lets you edit odd and even pages separately.
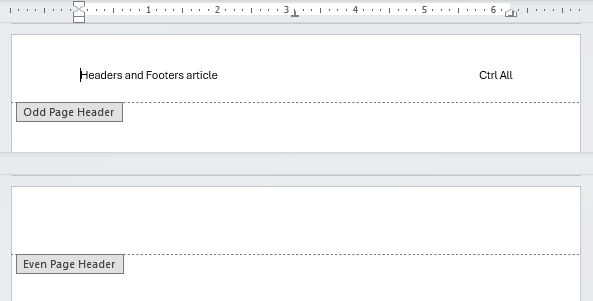
Once checked the headers and footers on even pages go blank, from here edit as you need them.
Note: Typically odd numbered pages are right pages and even numbered pages are left pages . In the example below notice how the page numbers are swapped over, this is so that the page number is always near the edge of the page not the spine where the pages meet.
Inserting automated fields (Quick Parts)
Quick part fields are useful to insert data which updates within the document. A common example of this is a page number; Word makes it easy to add a page number via Insert > Page Number and once inserted if you select the page number itself it will highlight dark grey. This is because it's a field, one which changes dynamically with each page increasing the number by one.
But what if you also want to show the number of pages e.g. '1 of 7'? In that case you'll need to add another quick part field to do it. Let's take a look at how this is done.
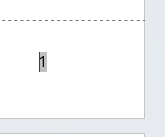
In our example above we've already added a page number to the footer. I'm going to add a space after the page number, the word 'of' and a space after it. Then I go to Header & Footer > Quick Parts > Field:
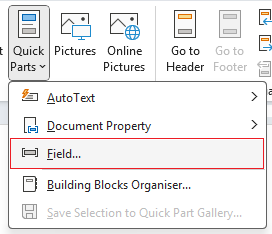
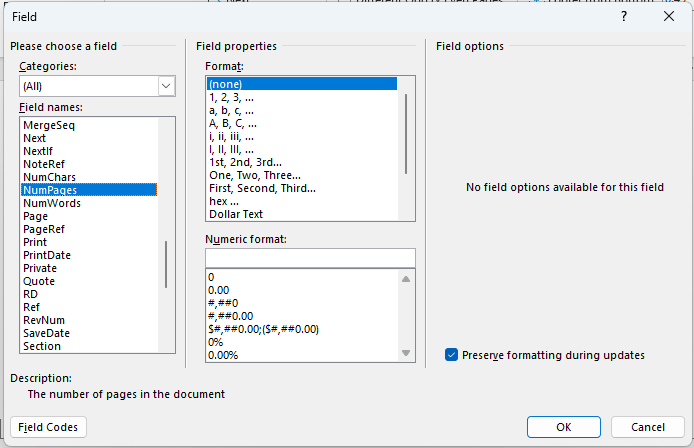
This brings up a Field window with the left menu hosting all different sorts of fields available.
In my case I need NumPages. I have the option to choose different formats and can then press OK
.
Here's it all from start to finish: